iMazing Manual
Getting started with iMazing Phone Evidence
iMazing Phone Evidence is an excellent solution for legal professionals who wish to invite clients to perform phone evidence extraction from home or want perform the extraction at the office.
The plan offers iMazing device-licenses purchased in pools, along with access to our iMazing Account platform, where invitations can be dispatched along with the instructions for evidence extraction.
In this guide you'll learn how to send iMazing Phone Evidence invitations to your clients and how to manage your license pool.
- Creating an account
- Logging into iMazing Account
- Inviting a new client to perform extraction
- Using a license at the office
- Inviting an existing client to perform extraction from another device
- Understanding the status of your license pool
- Adding more licenses when the previous pool is exhausted
1. Creating an account
After completing a purchase of iMazing Phone Evidence licenses, the registered email address will receive a confirmation email containing an invitation to create an organization account, if one is not already set up.
An organization account is an umbrella account, belonging to your organization, which will contain the licenses that the organization purchases, as well as the user accounts of yourself, colleagues, and of course, your clients. Licenses can be assigned to your clients' user accounts, and you can also assign licenses to your own user account if you would like to use iMazing on your own computer.
To create the account, click the Create Account button in the body of the email.
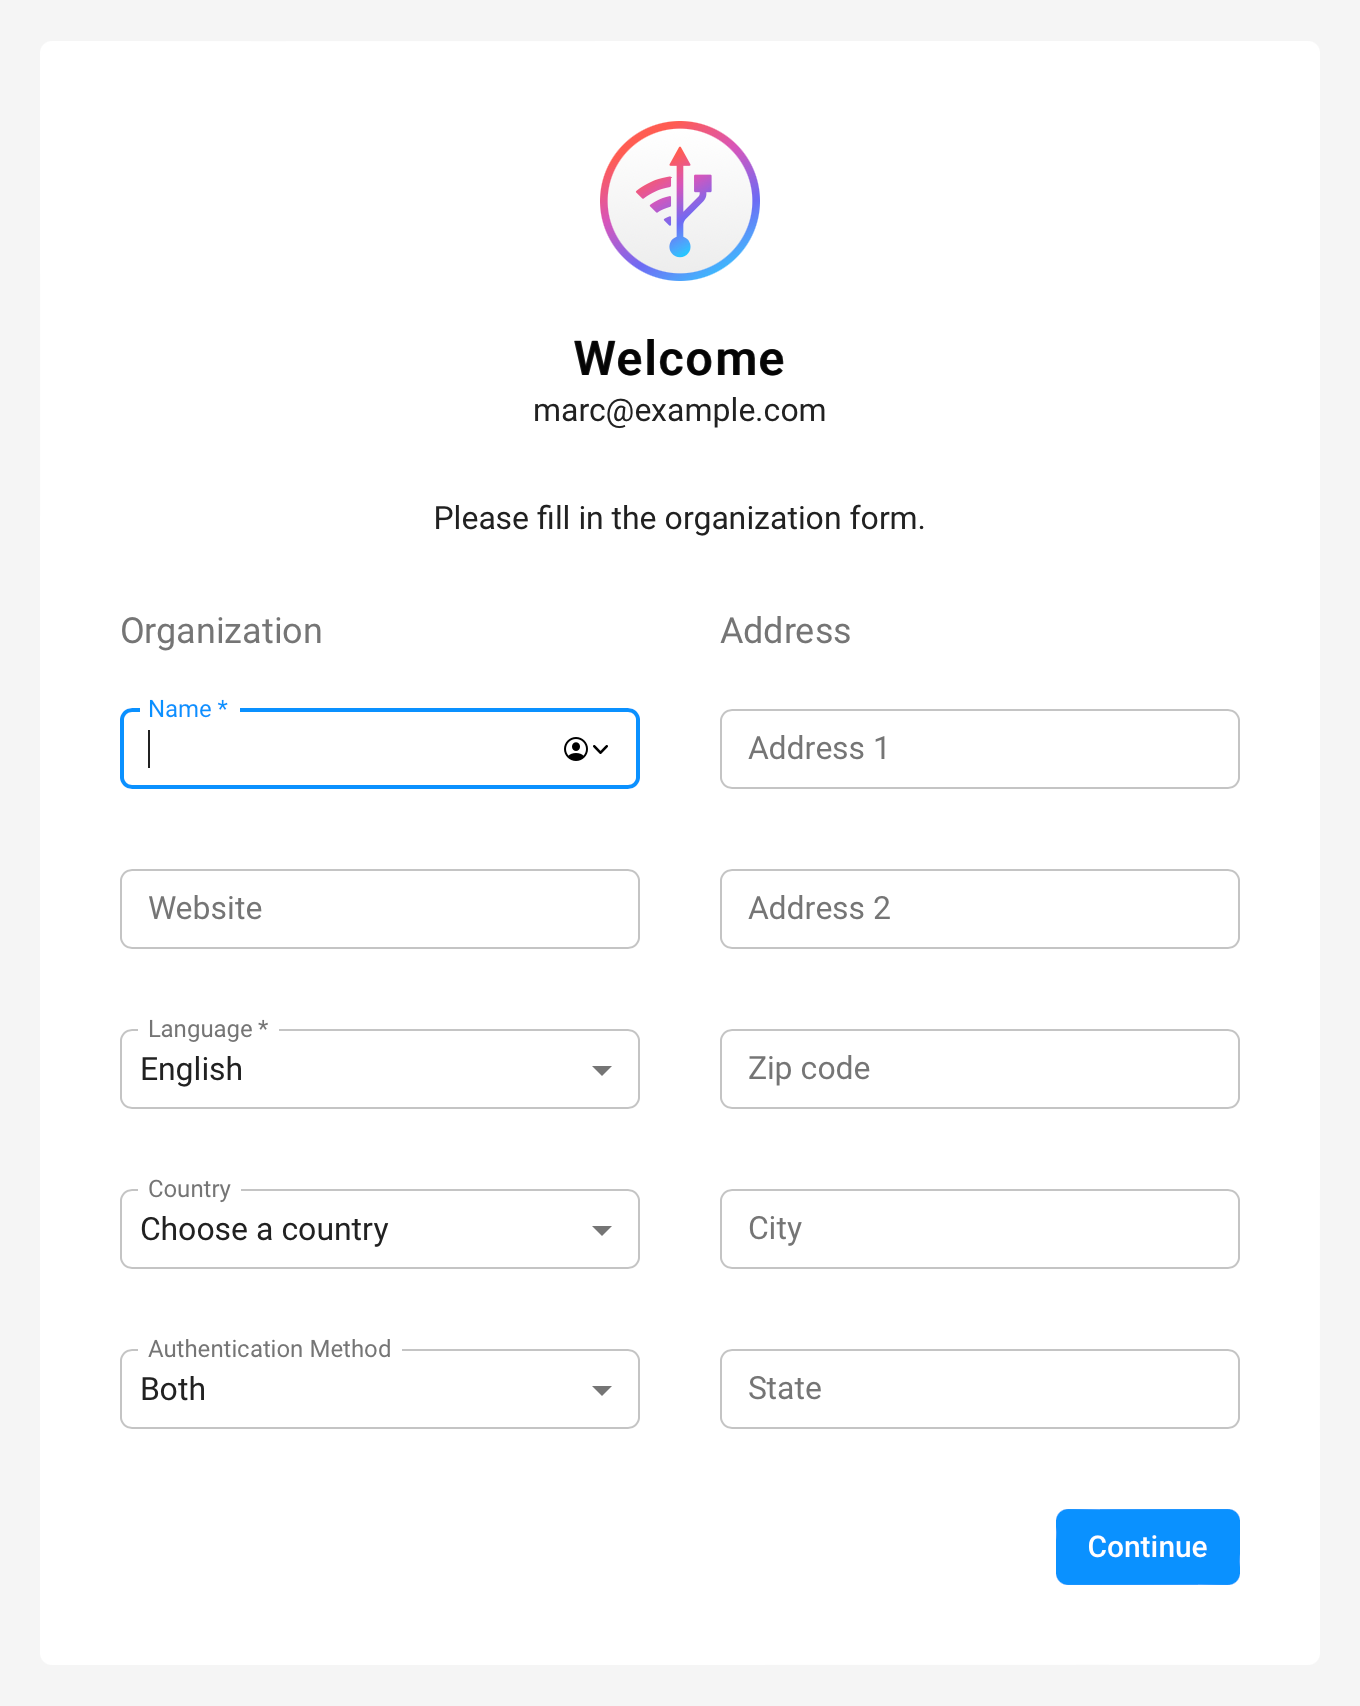
In the browser window that will open, you will be requested to fill in your organization details. At minimum, you must enter the organization name and your desired interface language. You can also select what authentication methods users in your organization (you and your colleagues) will be allowed to use. You can restrict accounts to user and password combinations only, third-party identity providers (signing in using a Google, Microsoft, or Apple accounts), or allow both. Click Continue to move on to the next step.
If you allowed email and password combinations, the next step will be to specify a password for your user account, so that you could use it to log in. Specify a password and click Save to continue. If you also allowed third-party identity providers, specifying a password will not prevent you from using either.
Your user account will be set as the owner of the organization account, but you can add other owners later and also transfer ownership.

After successfully completing the above steps both your organization account and your user account will be created and you will see a confirmation message.

2. Logging into iMazing Account
After following the instructions in the above step, you will be redirected to the login page. If your account has already been created, you can go to the login page at the following address:
Process according to the login method that you originally chose when creating the account.
2.1. Log in using an identity provider
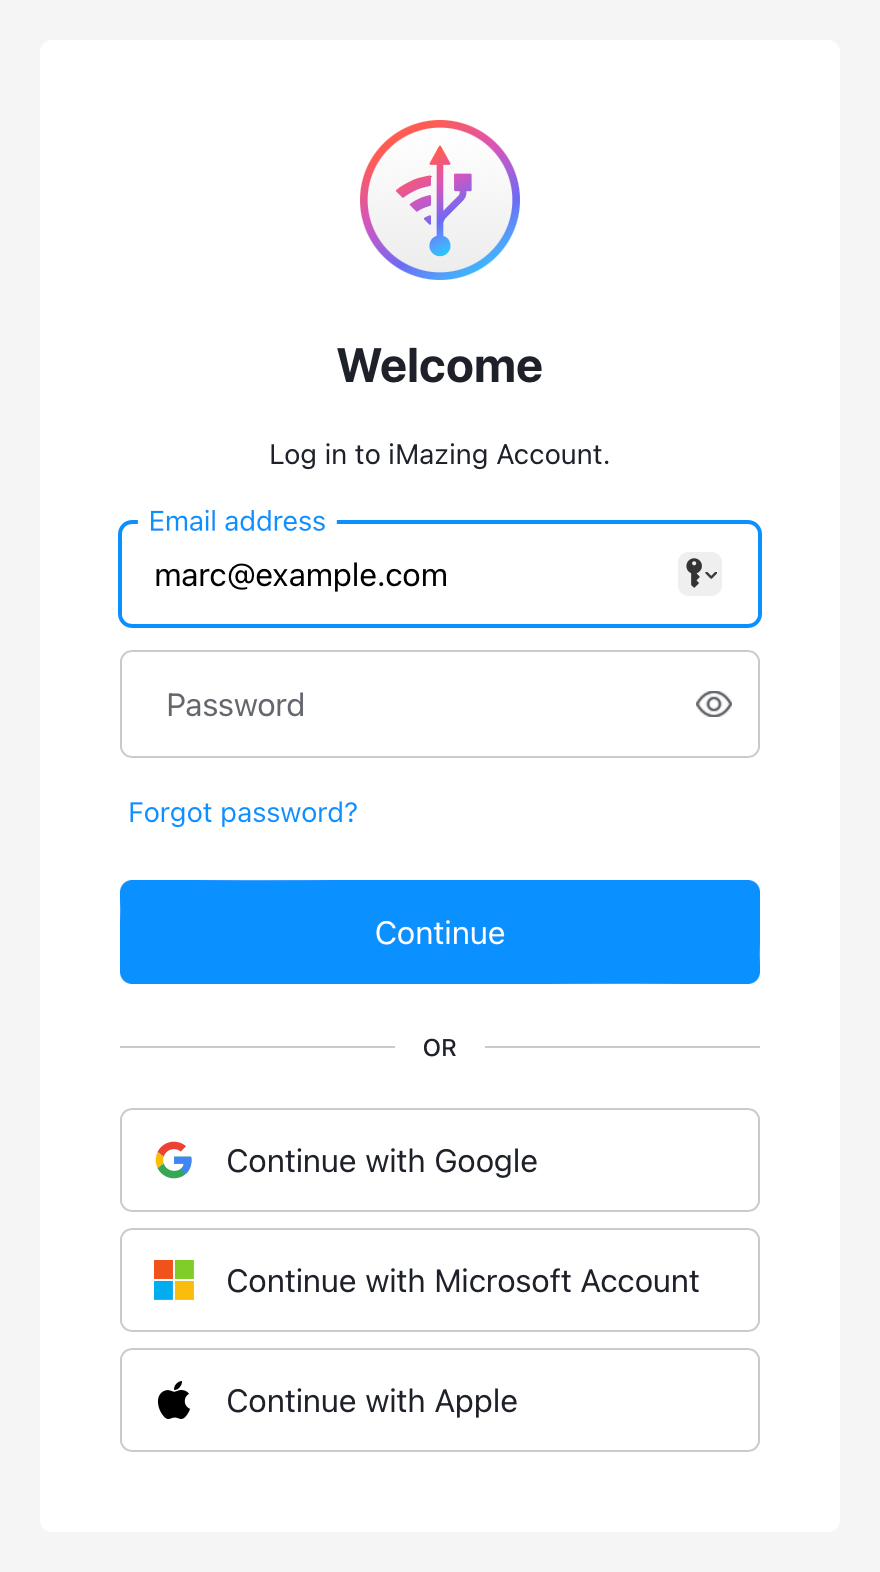
To log in using your Google Account, Microsoft Account, or Apple ID, simply click on the selected provider from the list on the bottom of the login form.
If you are not already logged into your identity provider, you will be requested to log in. Depending on the identity provider, you may be required to follow a number of additional steps.
Note, your identity provider account must be associated with the email address used when purchasing iMazing.
2.2. Log in using an email and password combination
Enter the email address that you've used when purchasing iMazing together with the password that you've specified in the above steps, and click Continue.
2.3. First login
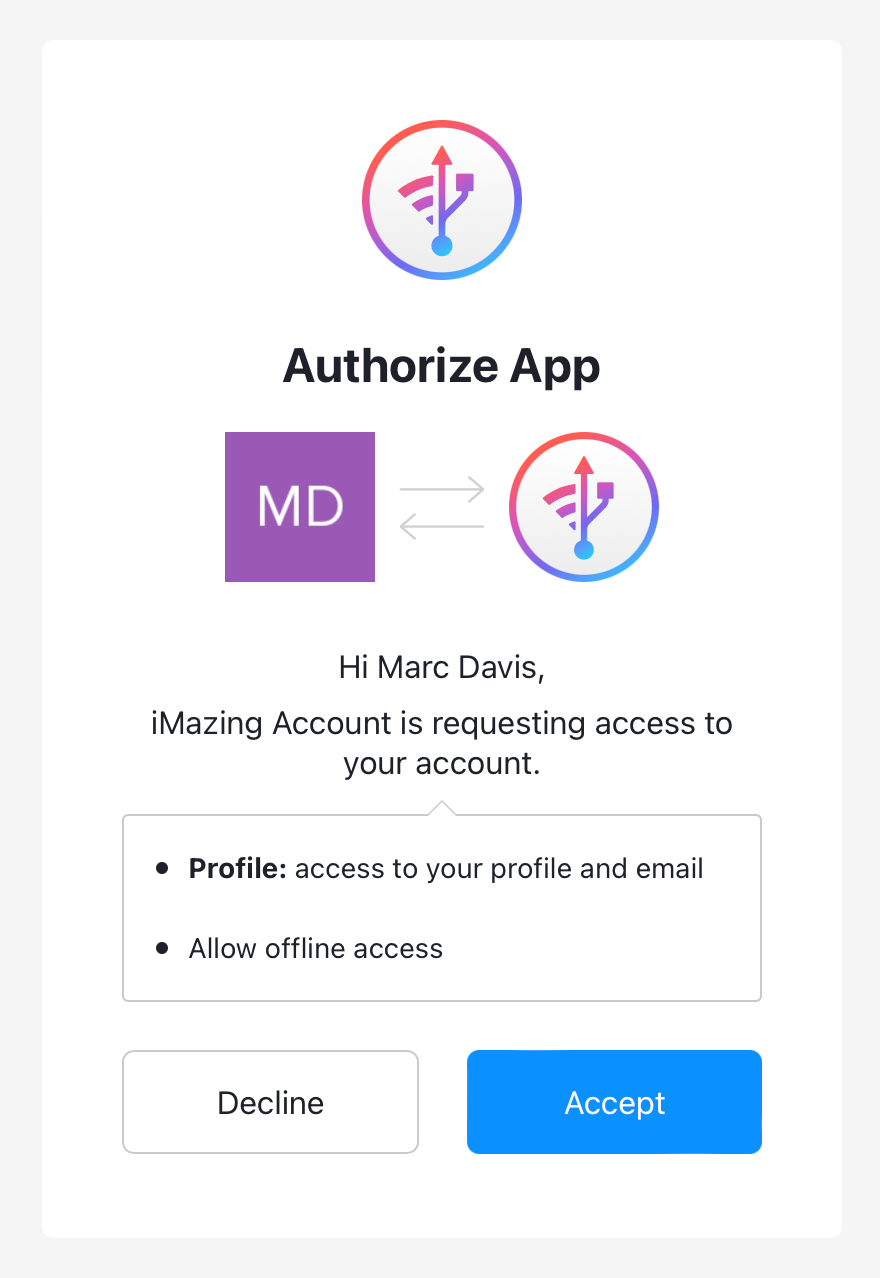
Regardless of the method that you choose, on first login you will be asked to approve the use of your newly created iMazing Account with the iMazing Account website. The two are separate services so this is a required normal step.
3. Inviting a new client to perform extraction
Once logged into iMazing Account, you will be able to invite clients to perform evidence extraction from their phone at home.
To do so, head over to the Accounts section. All of the existing user accounts linked to your organization account will be listed there, including your own user account which will be marked as Owner. If this is the first time you invite a client, only your account will appear on the list.
To begin inviting the client, click on the Add button.

In the form that will pop over, fill in the client's information, including their name and email address. If the client has more than one device from which evidence is required, adjust the Number of devices field accordingly.

To automatically send the client an email message which will include both their iMazing activation code and link to our guide on extracting evidence, check the Send License Email box. The invitation will include a link to our guide on how to Print iPhone Messages and WhatsApp Chats For court or other legal purposes.
When clicking Save, the account will be created and one or more iMazing Phone Evidence licenses will be reduced from your pool of purchased licenses and assigned to the new user account.
4. Using a license at the office
Sometimes you may want to use one of your purchased iMazing Phone Evidence licenses at the office on your computer instead of sending it to a client for use at home. Perhaps the client is already meeting with you at the office or you just want to extract evidence from your own device.
If this is the first time you will be adding a license to your own account, keep reading. However if your account already has at least one license assigned to it, skip to step 5. Inviting an existing client to perform extraction from another device, and follow its instructions but instead of a client user account, select your own account.
To add your first license, head over to the Accounts section of your organization account. There, find and select your own account, and then click Open Account.

This will navigate to and display your own user account. Now head over to the Licenses section. There, click the Create License button.

A form will pop over where you'll be asked to enter how many devices you'd like this user account to have. By default the field is set to one device. Enter the number of devices that you'd like to use with iMazing; there's no need to check the Send License Email box because you'll be able to copy your activation code in the next step. Click Save to continue.

After the form closes, you'll see that an iMazing Phone Evidence license has been added to your account. The license details will be displayed in the right-side pane, and among them the license activation code. Copy this code and use it to activate iMazing on your computer.

5. Inviting an existing client to perform extraction from another device
If your client already has a user account under your organization in iMazing Account, adding a license for another device is easy.
In the Accounts section, locate the user account, then select it and then click on the Open Account button to view it. You will now enter the user account, and the various sections on the sidebar will feature information specific to that user account.

In the Licenses section you will find the user's existing iMazing Phone Evidence license. Select it if not already selected, and click the Edit button.

In the form that will pop over, increase the number of devices by one or by the number of needed additional devices, and click the Save button. The number of added iMazing Phone Evidence licenses will be reduced from your pool of purchased licenses and added to the user account.

To go back to your organization account where you can see all user accounts, click the name of your organization in the breadcrumbs section in the top left.
6. Understanding the status of your license pool
Purchased iMazing Phone Evidence licenses are first assigned to the organization account whose user made the purchase. At that stage they can be allocated to any user, whether on new user account creation or by adjusting the license count of an existing user as discussed above.
You can see how many licenses your organization has to allocate to client user accounts by visiting the Licenses section. The number of licenses available for allocation will appear in the licenses list under the name of the license.

When allocating a license to a client, the license will draw from the organization count, and will appear on the client user account as Pending. When the client uses their license activation code with a device in iMazing, the license becomes active.
Licenses in Pending state can be removed from user accounts and returned to the organization for allocation to another client. Once activated, the license can no longer be used for activation with another device or client.
7. Adding more licenses when the previous pool is exhausted
Once you have allocated all of the purchased iMazing Phone Evidence licenses in your organization and they have all been activated by clients, sending further invitations to clients will require making an additional purchase.
To purchase additional licenses, go to the Licenses section of your organization account, and select the iMazing Phone Evidence row, if not already selected. Then, click the Add Devices button on the right pane.

The iMazing store will pop over, enabling you to select the devices tier you are interested in, and to complete the checkout just as you did on your first purchase.


Enterprise License Information Request

Thank you! We'll be in touch shortly.